
Last Updated on
By Tony Martins
There’s no question that trail cameras have made hunters more successful. They are arguably the greatest technological advancement in hunting since smokeless powder and telescopic sights. If you’re an avid hunter chances are good that you have invested a bundle in these excellent scouting tools and accessories. In fact, I know professional guides who have more than 100 cameras setup in a single hunting unit! Protecting a sizeable investment like this is an important consideration. Out west – where most hunting takes place on public lands administered by Federal agencies like the U.S. Forest Service and Bureau of Land Management, as well as State wildlife agencies that typically manage trust lands and conservation easements – security is particularly important.
Security & Setup
There are several notable differences in the way trail cams are setup and used in the West compared to the Midwest and East. Camera security undoubtedly ranks as the foremost issue on wide open public land – on comparatively secure private land, not so much. Some hunters won’t use trail cameras on public land out of fear that they will be stolen. The benefits greatly outweigh the risk of theft however, in my opinion. This reminds me of the response of a noted professional bass fisherman when asked if he worried about losing expensive crankbaits pitched into heavy cover. “Lures are the tools of my trade” he said, continuing “I’m a fisherman, not a lure collector.” In the same vein, the trail camera is a tool used by successful hunters – if you use them, be prepared to occasionally lose one. I’ve lost several – to bolt cutters and pry bars, and even to a chain saw when bold thieves cut down a tree holding one of my cameras. Being victimized by thieves is infuriating. Despite your best efforts to secure cameras however, some will be stolen or damaged in the attempt. Thus, losses are to be expected and will be better tolerated if they are simply factored into the cost of your hunting.

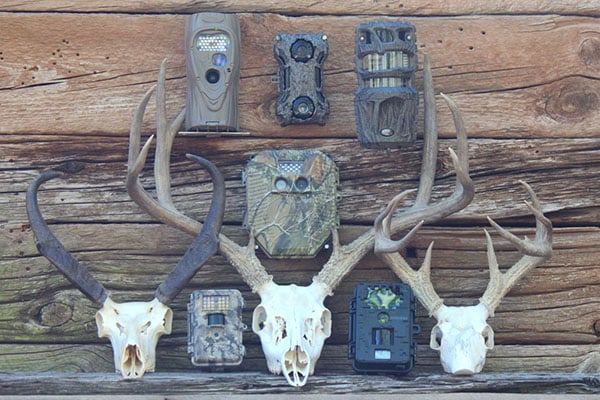
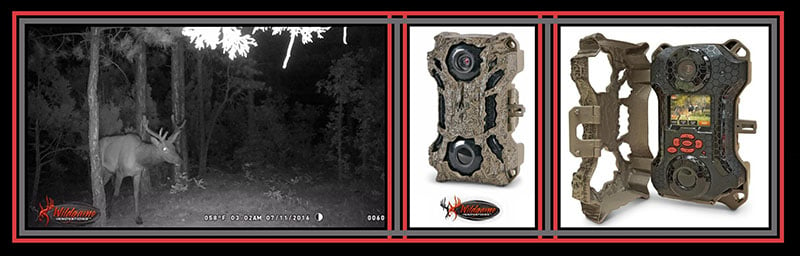
A variety of chains, cables, wires and locking devices can be used to attach cameras to trees and posts, and the device often depends on the shape and style of the camera case. Steel security boxes designed for individual camera models offer the highest level of protection, particularly where large animals like bears, elk and domestic cattle that could damage the camera are present. I use these with all cameras placed on public land. The steel box is attached to a tree (12-inch minimum diameter, but 18-inches is better) with two or three 6-inch long galvanized lag screws and fender washers. The camera is locked in the box using a high security level padlock – for example, 7 or greater if the manufacturer’s security scale goes to 10 – with the shortest shackle that will fit the box, to resist bolt cutters and pry bars. I no longer use cable-type locks, as these will slip with usage and most can be loosened with a pry bar and are easily cut with bolt cutters. In my opinion, it’s foolish to lock a $100-$200.00 camera in a $30-$50.00 security box with another $15.00+ in memory card and batteries onboard, using a $3.00 padlock. Good quality padlocks cost $10-$15.00 and are a wise investment to help secure expensive cameras.

Camera Placement
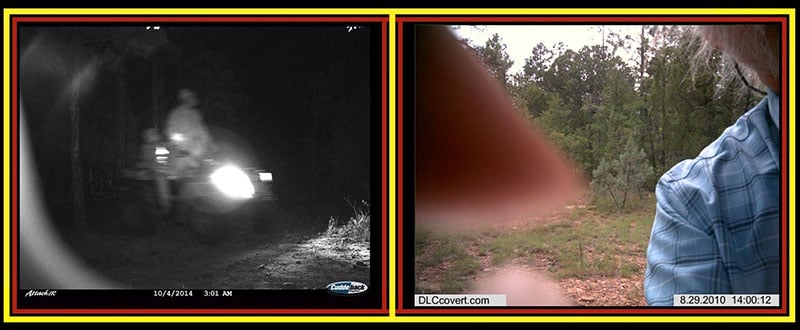
The West is known for its big, wide open spaces where target animals may be dispersed over thousands of acres. This contrasts sharply with eastern whitetail hunting, which often occurs on small farms or woodlots where productive trail cam placement is more easily defined. Furthermore, while whitetail hunters may use cameras in their hunting areas year-round, the migratory behavior of many western game animals precludes productive camera use 24-7/365. Whitetail hunters often attract deer to their cameras with bait, but baiting is largely illegal in western states. For years western hunters used salt and minerals to attract game like deer and elk, but fear of spreading chronic wasting disease has caused some wildlife agencies to ban the practice. For hunters in affected states, this leaves one surefire attractant that is universally legal – water. In the arid southwest, water is always at a premium, and western animals like pronghorn, elk and Coues whitetail deer will use available water daily. And, although mule deer can go several days without water, I have seen as many as a dozen trail cameras setup on a single water hole on the famed Arizona Strip, known for producing record book muleys.
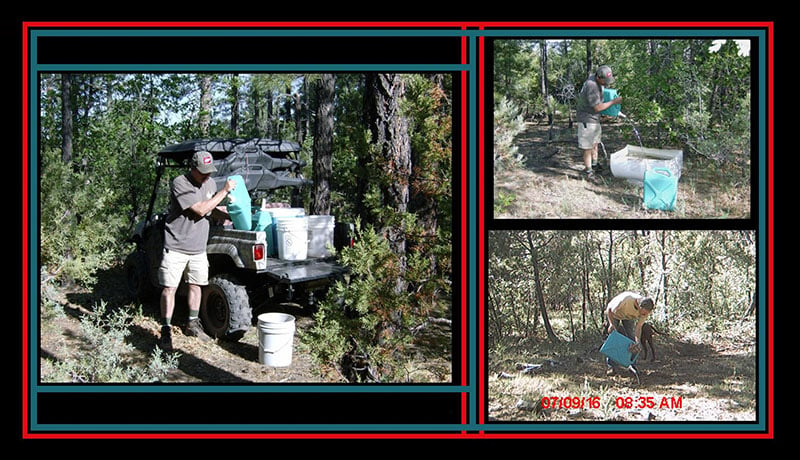
Where water is not available, or the source is inconveniently located, savvy hunters create their own watering holes. Small “guzzlers” are easy to construct with metal or plastic sheeting laid out to collect rain water with runoff directed to a man-made pool or container. When rain is scarce, hauling water into a dry area is a great deal of work, but the benefits often warrant the effort. I have used this technique with great success in Arizona, and a close friend has done likewise in Utah. It’s important to put in the time necessary to maintain the artificial water source, but animals will return to check the location once it has been discovered, even after it has gone dry. In the absence of standing water, mule deer will actually eat the dirt and extract the remaining moisture.
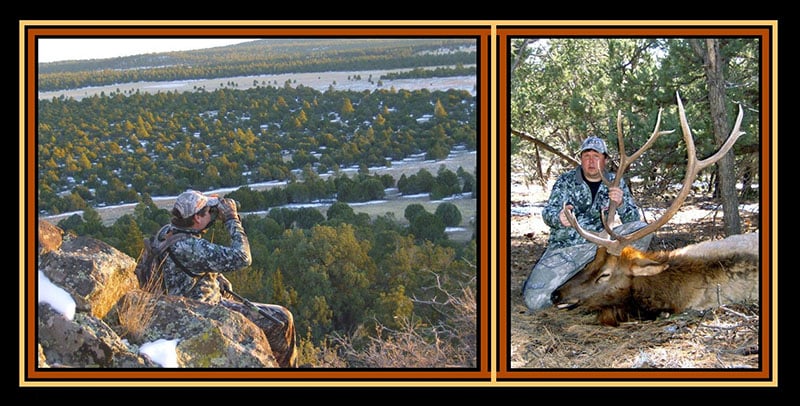
Where water is not an issue, well used trails are the most productive locations for trail cameras, east or west. Whitetail hunters often choose routes between bedding areas and concentrated food sources like crops and food plots. Out west, elk and deer hunters look for signs of regular travel through woods, like fresh tracks and scat which are typically found just inside a treeline. Elk and deer often travel along fencelines, and favored crossings are excellent spots for camera sets – particularly where “elk jumps” have been installed that pinch the top two strands of barbed wire together by running it through a section of PVC pipe slightly lowering the fence height. Saddles and bluffs are topographical features that are often used as travel routes by western game. A saddle provides the lowest effort access to the other side of a mountain, which may separate bedding and feeding areas on the northern and southern slope exposures, respectively. A bluff provides shade and physical security for animals traveling along trails at the base. Topo features like these often hold good locations for productive trail cam placement. Fresh wallows are popular venues for early season elk hunters, particularly when scouting for a dominant trophy bull.
Final notes on placement: Whenever possible, cameras should be placed facing away from the sun. This will not only produce sharper images, but it will also protect lenses and sensors from direct exposure to sunlight and potential damage. In windy areas, care should be taken to avoid pointing cameras toward trees and bushes that will move with the wind, filling the SD card with images of dancing vegetation while draining batteries.
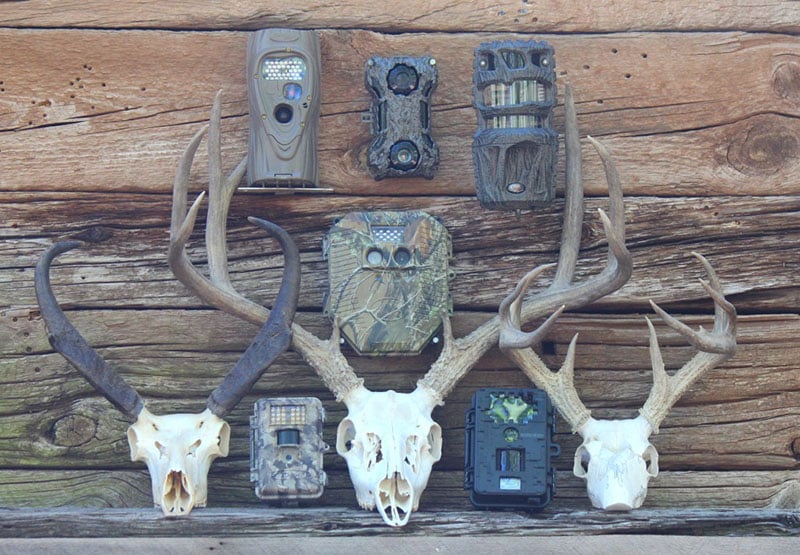
Camera Features
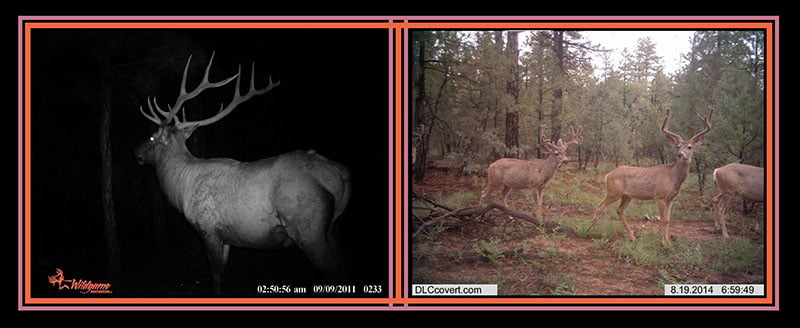
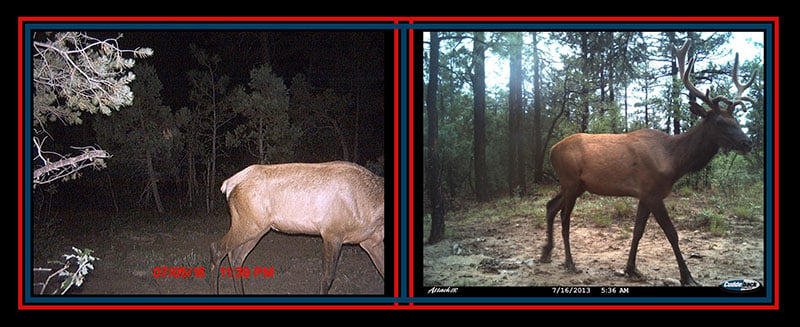
While virtually all trail camera users enjoy clear, high-resolution photos, this is not always the most important concern when selecting cams and their inherent features. For example, western guides and outfitters, who deploy large numbers of cameras often in remote locations, prefer low-cost (<$100.00), compact size, long battery life and weather resistance over all other features. Small size facilitates inconspicuous setup – important with cameras that are minimally secured – and battery life is important with cameras that are checked infrequently. Lower end models manufactured by Moultrie, Bushnell, StealthCam and Wildgame Innovations are the most popular for public land placement in the wide open spaces out west. Image quality often ranks above all other features with trophy hunters looking for deer and elk with the biggest antlers. New camera models like the Wildgame Crush X20 Lightsout produce brilliant daytime color photos with resolution up to 20-megapixils, and good quality black & white images at night. White flash cameras produce the best quality nighttime pics and surprisingly, I’ve found that unlike whitetails, elk and mule deer are rarely spooked by the bright flash. A young and obviously narcissistic bull once posed for more than 200 flash photos in a single evening, draining the batteries in my camera! Mid-range ($150-$300) infrared (IR) cameras with red glow or no glow flash systems have grown in popularity as their image quality has improved, and with no visible flash they are less disruptive as well as less conspicuous.
When cameras are placed along trails where target animals will be moving past, trigger speed is the most important feature. It’s pretty frustrating to find image after image showing only the hind quarters of bucks and bulls! Cuddeback cameras have a well deserved reputation for fast trigger speed (1/4 second) as well as good image quality, but other companies like Bushnell have caught up with models boasting speeds of 1/10 second and less. High-end trail cameras (>$350) are rarely encountered in the west where public land predominates, and large tracts of private land are often unposted and easily accessible to the public. This is slowly beginning to change however, as western hunters recognize the convenience and advantages of newer technology found in cellular and wireless Wi-Fi enabled trail cameras that can transmit alerts and/or images as well as video to a mobile device.
Capturing & Using Information
Obtaining pictures of game animals is the main reason that most hunters use trail cameras. Whitetail hunters collect pics to identify individual animals, and inventory hunting properties both pre- and post-season. In season, cams are used to locate shootable bucks that show themselves during daylight hours where hunting stands are located. Thus, positioning eastern hunters to intercept moving bucks is an excellent application for the trail camera in-season. Western big game hunters use pics of shooter bucks (deer and pronghorn) and bulls to identify specific areas where an in-season encounter will be likely. Cameras can help to eliminate unproductive areas during typically short duration seasons, to save both time and boot leather. Odds of success increase for western hunters using spot-and-stalk or still hunting techniques that necessitate going after target animals, when trail cam pics have identified the most productive areas.
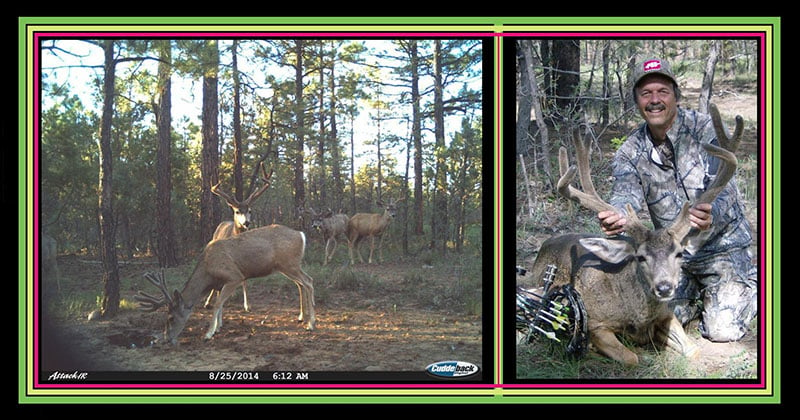
Although images are the primary trail camera product, many hunters ignore the other intelligence information these remarkable devices can provide. It’s surprising how many hunters don’t bother to accurately set the date and time stamps in their cameras. Additional information like temperature and moon phase can also help hunters to be in the right place at the right time when conscientiously captured and evaluated. A couple of years back, trail cam pics revealed a bachelor group of muley bucks had arrived on the mountain rim where I live, just a week before the archery deer season opened. From past experience I knew this would be a brief stay during their annual late summer migration to the north. These bucks visited a couple of water holes I had manufactured between 5:00 and 7:00 AM on alternate days. For the next week I hauled water to the site every afternoon after work – when I anticipated no deer would be present – hoping this would entice the bucks to stick around. Cam pics showed several bucks passing through the morning before the opener, and I was well positioned in a tree stand overlooking these small water holes early the next morning as well as the following two mornings, despite a slightly unfavorable wind. On the fourth morning the wind was perfect, and the entire bachelor group of 15 mature muley bucks came in for a drink about an hour after daylight. A full 7 minutes after they arrived and settled-in for a little refreshment, I drew ever so carefully and sent an arrow through the heart of the dominant buck as he drank.
Due to the typically unpredictable movement patterns of western big game, arrowing a mature mule deer buck from a tree is an exceptionally difficult and noteworthy accomplishment. A little ingenuity and a few well placed trail cameras, coupled with thoughtful use of the intelligence information they can provide, will greatly improve your odds for consistent hunting success.


Leave a Reply