
Last Updated on
Continued from: Benelli M4 Shotgun Review.
M1014 Upgrades – 922 (R) Compliance
Thanks to our overly restrictive Bureau of Alcohol, Firearms, Tobacco and Explosives, we as legal gun owners are not trusted nor allowed by our government to have the full-length tube of the M1014 with its 7+1 capacity of 2.75 inch shells. Due to the Benelli being an import from Italy, we are restricted to only a shorter 5+1 shell tube. For years, I just made due with a US made screw on tube extender made in the US. I worked well but with it being plastic and non-factory spec, it looked like a cow wearing shoes.
Also, if the end user is not in the military or Law Enforcement, one can’t not have a factory collapsible stock on his or her Benelli M4 as well under BATF regulations concerning the number of imported parts already on the firearm. All this is directly attributed to what is known in the firearms industry as simply the 922 (R) compliance code.
922 (R) Compliance
So just what does the 922 (R) refer to with our goal of turning the civilian M4 into our personal M1014? The best answer I have found to date comes from our friends at Freedom Fighter Tactical with the following:
“In short, federal law prohibits us from increasing the magazine capacity on our Benelli M4 shotguns from 5 rounds to any more than 5 rounds. However, there is a way around this, as stated above and as defined by federal law and the ATF. How we achieve this is as follows: We must replace a total of three imported parts on our Benelli M4 with American made parts in order to increase the capacity of the magazine. In order to fit the shotgun with an original factory OEM collapsible stock, we will have to increase the part count by one and now replace four parts as the new stock and pistol grip combo count as two imported parts whereas the factory fixed stock / pistol grip combo count as one. We cannot choose any four parts we wish. The ATF and federal law give us a specific list of parts to choose from.”
- Receiver
- Barrel
- Bolt
- Bolt carrier
- Gas piston
- Trigger housing
- Trigger
- Hammer
- Disconnector
- Buttstock (with integral pistol grip)
- Forearm/handguard (forend)
- Magazine body (Magazine Tube)
- Follower
*Note, due to the recent history of the BATF’s flip flopping on current topics not related to the Benelli M4, it is advisable to submit a letter to the Bureau of Alcohol, Tobacco, Firearms and Explosives concerning what you have planned for upgrading your shotgun and make sure to receive a signed and date stamped letter from them approving what we have already stated. This is not by any means necessary to make the improvements but offers great protection against future decisions turning against you.
Getting back on track, we now stand at knowing there must be four parts replaced on our Benelli M4 to turn it into our M1014 project. Right off the bat, we know numbers 1-6 are out of the question due to a lack of these parts being made here in the US. In other words, realistically, we have our choices narrowed down to seven. For these parts, there is a short but very distinguished list of companies to choose from, which produce high quality replacement parts here in the States.
Magazine Tube
I started by reaching out to none other than the company I consider the foremost expert on Benelli M4 upgrades, Freedom Fighter Tactical. This company can easily be your one stop shop for 922 (R) compliance parts in regard to the Benelli M4 shotgun. One of my favorite parts from their catalogue is the full-length magazine tube. Not only is it a visually a dead ringer for the original Benelli OEM part, but when you pick it up, you realize it’s even better! Freedom Fighter Tactical offers their extended magazine tube in Titanium, which in by doing so, the end user gets a 48% lighter yet stronger tube than the factory tube. Anyone who has ever spent quality time shouldering the M4 will quickly recognize this sort of leap in front end weight reduction as a huge blessing!
Once in my work shop, I stripped Benelli M4 receiver, firmly locked it down in a padded vise and applied constant heat via heat gun to the factory magazine tube. After approximately 10 minutes, I was able to slowly unscrew the magazine tube from the receiver by breaking the factory Loctite glue from its threads. Installing the Freedom Fighter Tactical tube was simply a matter of cleaning the receiver thoroughly from any residual glue, lightly coating the treads of the new part and firmly screwing it into its new home. With the addition of a new lightweight aluminum magazine follower stamped US made, we quickly knock off #12 & #13 from our list and now stand at two additional parts needed to meet 922 (R) requirements.
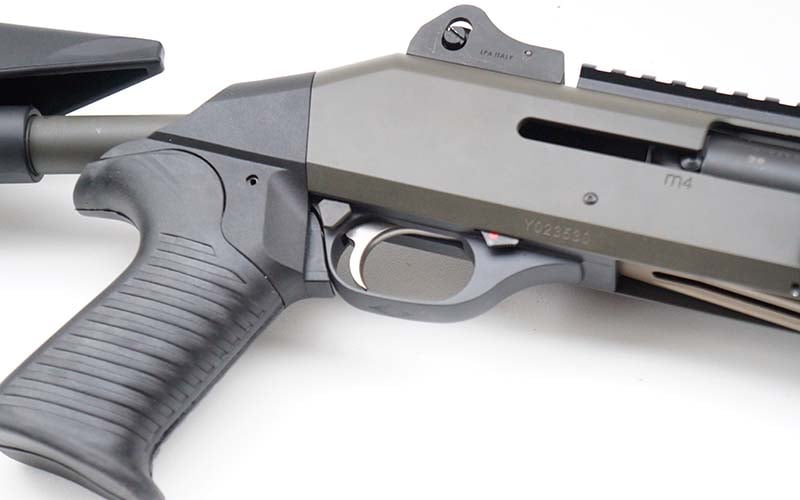
Hammer, Trigger and Disconnector
I look at this next upgrade as the home run swing. Freedom Fighter Tactical offers a trigger group that not only gives you the two remaining compliance parts needed, it gives you three in one package! This replacement set includes a premium trigger, hammer and disconnector which are #7, #8, and #9 on our list. These parts are made with the finest materials and truly to be considered an upgrade in performance rather than simply a replacement.
Installation is simple and requires no fitting of parts although, Freedom Fighter Tactical does recommend all parts be installed by a competent gunsmith. With the proper tools and the very detailed instructions, I was able to install the entire kit in under 30 minutes. Recommended tools for installation are a pin punch set, plastic hammer, high quality gun oil, and a set of snap ring pliers.
Aside from providing the needed compliance parts, I found the upgrade to enhance the function of the trigger group. Trigger pull was measuring almost a full 7 ounces less than the factory group and felt noticeably smoother. The tool steel construction of all three parts along with the black oxide coating of the hammer combined with the Robar NP3 coating of the trigger give me reassurance these parts will probably outlast the life span the remaining shotgun parts by far.
Surefire Handguard / Rail
By now, we have reached our required parts needed to be able to legally have our full magazine tube and to install a factory Benelli collapsible stock. Unfortunately for my bank account, I live under the concept of two is one and one is none; after all, the intent of this article is to upgrade and enhance our Benelli M4, right? The addition of a new handguard would give us yet another US part to buffer us from the bare bones requirements. While our friends at Freedom Fighter Tactical do offer a US made replacement handguard that is a dead ringer for the factory clam shell, I always thought a good combat shotgun should have a way of attaching a white light on it. For this, I turned to the experts in the weapon mounted light field, Surefire.
Throughout my law enforcement career, my life and others often depended on a Surefire light to help me spot danger whether it was on a SWAT deployment or assisting emergency services in the middle of a hurricane. Surefire has traditionally made very durable and comfortable to use weapon rails for mounting these lights seamlessly onto tactical weapons. The Surefire Benelli handguard with the tri-rail system is one of these products. This rail simply pops on as a factory clam shell replacement and offers a left, right and bottom Picatinny rail for lights, lasers, switches or whatever you need for your mission.
For those concerned about having your hand grated by a rail during recoil, Surefire even provides rubber coated rail covers to fit over the unused sections to offer the shooter a firm yet comfortable grip on the forearm. During my time shooting the Surefire equipped Benelli M4, I enjoyed the enhanced control of the handguard as well as being able to quickly mount and unmount a Streamlight or Surefire light onto the rail when needed.
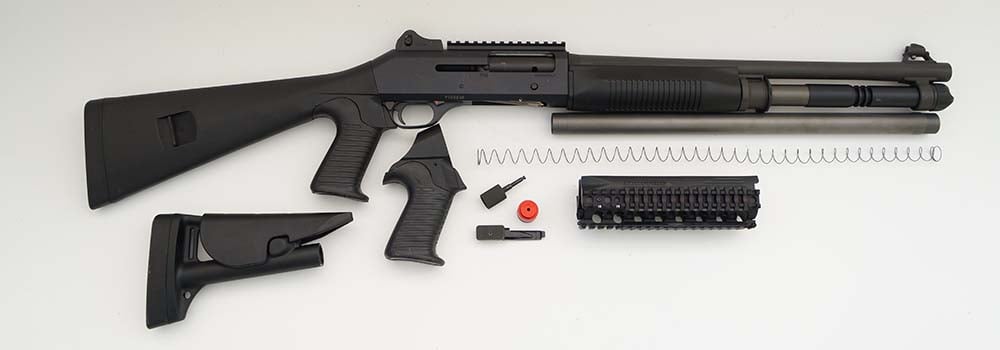
Additional Upgrades
Aside from the required changes to keep our project BATF legal, there were some modifications made to the Benelli M4 which just make it easier and faster to operate. First, I wanted to address the skinny and sometimes difficult charging handle as well as the small sized bolt release button that can be a bit of a pain to operate under stress when running the shotgun with gloves. For these two items, I turned to a company named GG&G. This company has quickly become the industry standard for these two specific products. Offering both an oversized charging handle with a rounded, non-slip textured grip as well as a rock solid rectangular bolt release button that you could operate even if you were wearing snow mittens, GG&G clearly designed these items with the Tier 1 operator in mind.
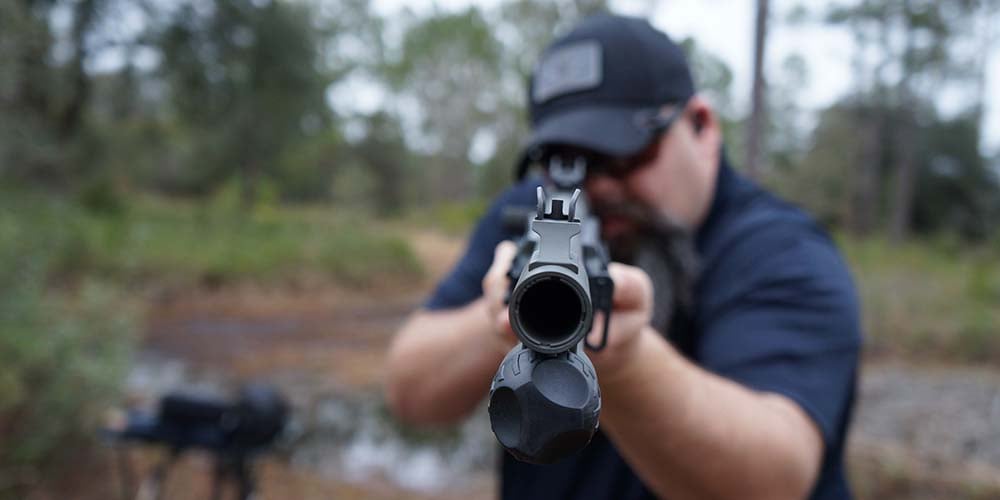
Next I turned my attention to the factory iron sights. While the Benelli M4 does offer a top mounted rail for installation of your favorite optic, it has very hard to beat a great set of iron sights. The factory set is easy to use and very durable but in low light, can be almost impossible to see. I decided to replace these sights with a set of ghost ring night sights with Tritium inserts from Meprolite. This new set is every bit as tough as the factory set but with the addition of a very clear and fast to acquire, three dot sight system that works just as well during extreme low light as it does in day light.
As we mentioned before, it doesn’t’ take long of carrying the Benelli M4 before you notice it gets a bit heavy. For a simple solution to this issue, I looked to Viking Tactics in the form of their V-Tac 2 point tactical sling. Unlike most slings, the V-Tac sling offers a fast, one hand adjustable option to sling and cinch the shotgun to the body quickly to maneuver and release just as quickly to re-deploy it back into action. This sling has been battle proven by top operators around the world and seen action in several of my former SWAT deployments on my AR-15 and even my Remington 700 sniper rifle in the past. Adding this sling to the Benelli M4 is a perfect fit of simple form and function.
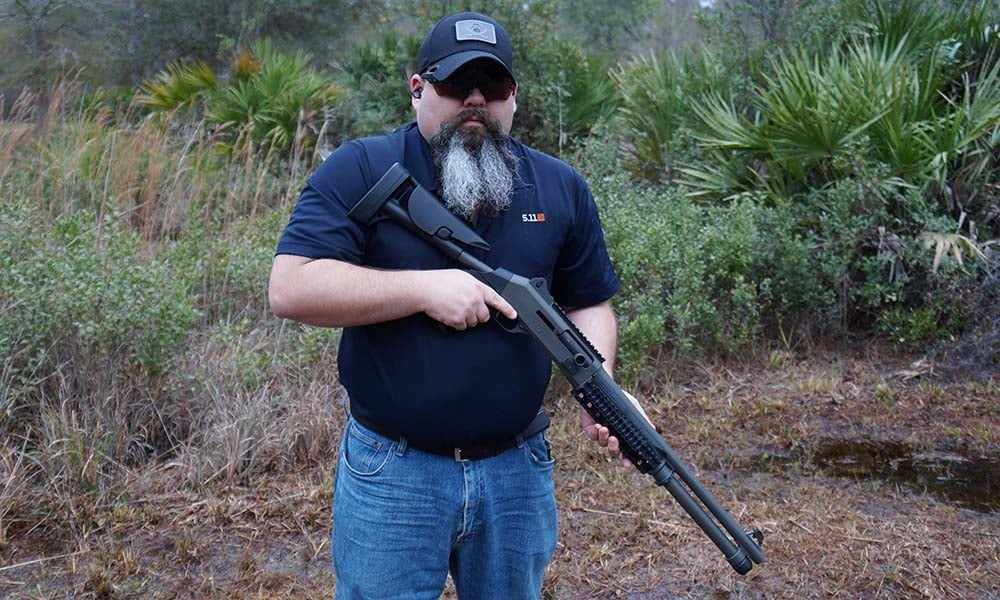
Lastly we come to more of a personal preference than a true upgrade. With replacing parts and adding new ones, most of the time the colors may be the same but the tones and hues are vastly different leaving the overall appearance to look a bit mismatched. To combat this small issue, I decided to turn to a good friend and trusted gunsmith, Brett Smith of McKinley’s Gunsmithing. This shop has been certified to provide clients premium firearm refinishing among their many services via the use of DuraCoat.
For those not familiar with DuraCoat, it is a polyresin finish licensed by Lauer Custom Weaponry for the exclusive use as a tough as nails protective firearm finish. Despite false testing and claims by other firearm finish companies through ridiculously expensive marketing ads, DuraCoat has proven itself to be one of the toughest firearm finishes ever to come through independent military testing. For this project, I decided to go with a matte toned Olive Drab Green DuraCoat to refinish all the metal parts of the shotgun.
After a complete physical strip of every spring, pin and piston, then chemical strip to remove all dirt, grease and powder residue the metal parts were lightly media blasted to remove the existing finish before a quick dip in the parkerization tank. Once dry, all parts were sprayed with DuraCoat via a HVLP paint applicator and allowed to dry for a few weeks. Once the finish reached full cure, the shotgun was reassembled and ready for action.
The added benefit of the DuraCoat finish aside from providing the shotgun with a great subdue two tone look, is the rust and salt water resistance properties it provides. As the factory saying goes, DuraCoat doesn’t wear out, it wears in. Over time you will be amazed at just how tough a professional DuraCoat finish will be compared to any other factory finish in the gun industry.
Final Thoughts
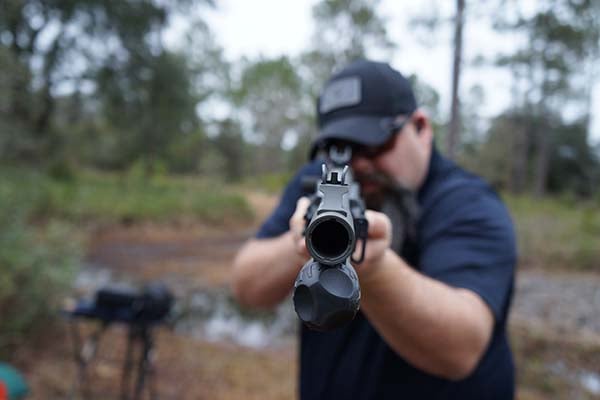
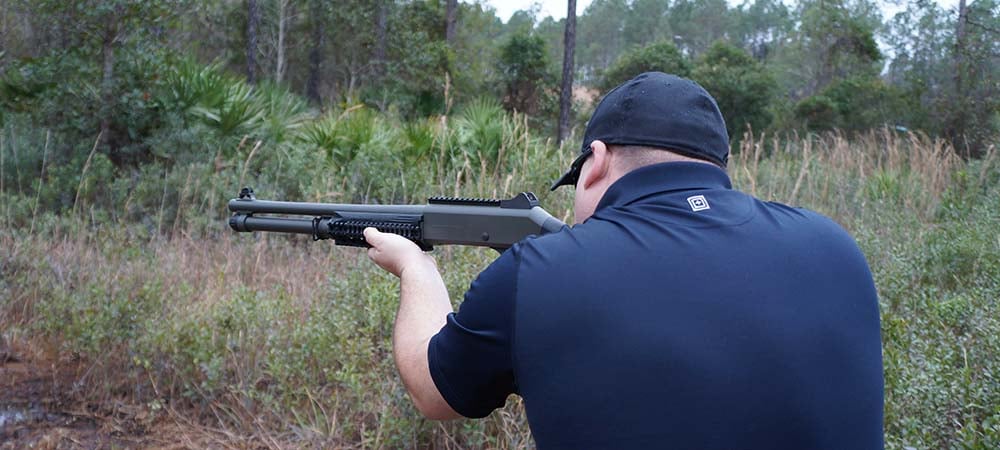
It doesn’t take long on the range with the Benelli M4 in any configuration to see why it is so vastly popular with everyone who shoots it. I often hear from those who haven’t shot one yet, how their Mossberg 500 pump or Remington Tactical 11-87 can do the same thing for much less cost. This is partly true, they can shoot 12 gauge shells at relatively the same velocities and perhaps the same accuracy, but I have seen firsthand the speed and reliability in which the Benelli M4 handles a wider array of ammo faster and flawlessly. Weather its SWAT operations, home defense or training a new class of tactical shotgun shooters, the M4 has performed in a class above the rest.
While the initial price is on the higher end of the spectrum and the upgrades can come at another $1000 additionally, what you see is what you get. High performance, ergonomics and reliability at its finest. The Benelli M4 is the Ferrari of the shotgun world without a doubt. Benelli has a long rich history of producing top notch products and it is clear to see why the M4 is their crown jewel. When it comes to tactical shotguns, the Benelli M4 is my top pick. I urge you to check one out for yourself today!


Leave a Reply